Imaginations Take Flight: Little Nest
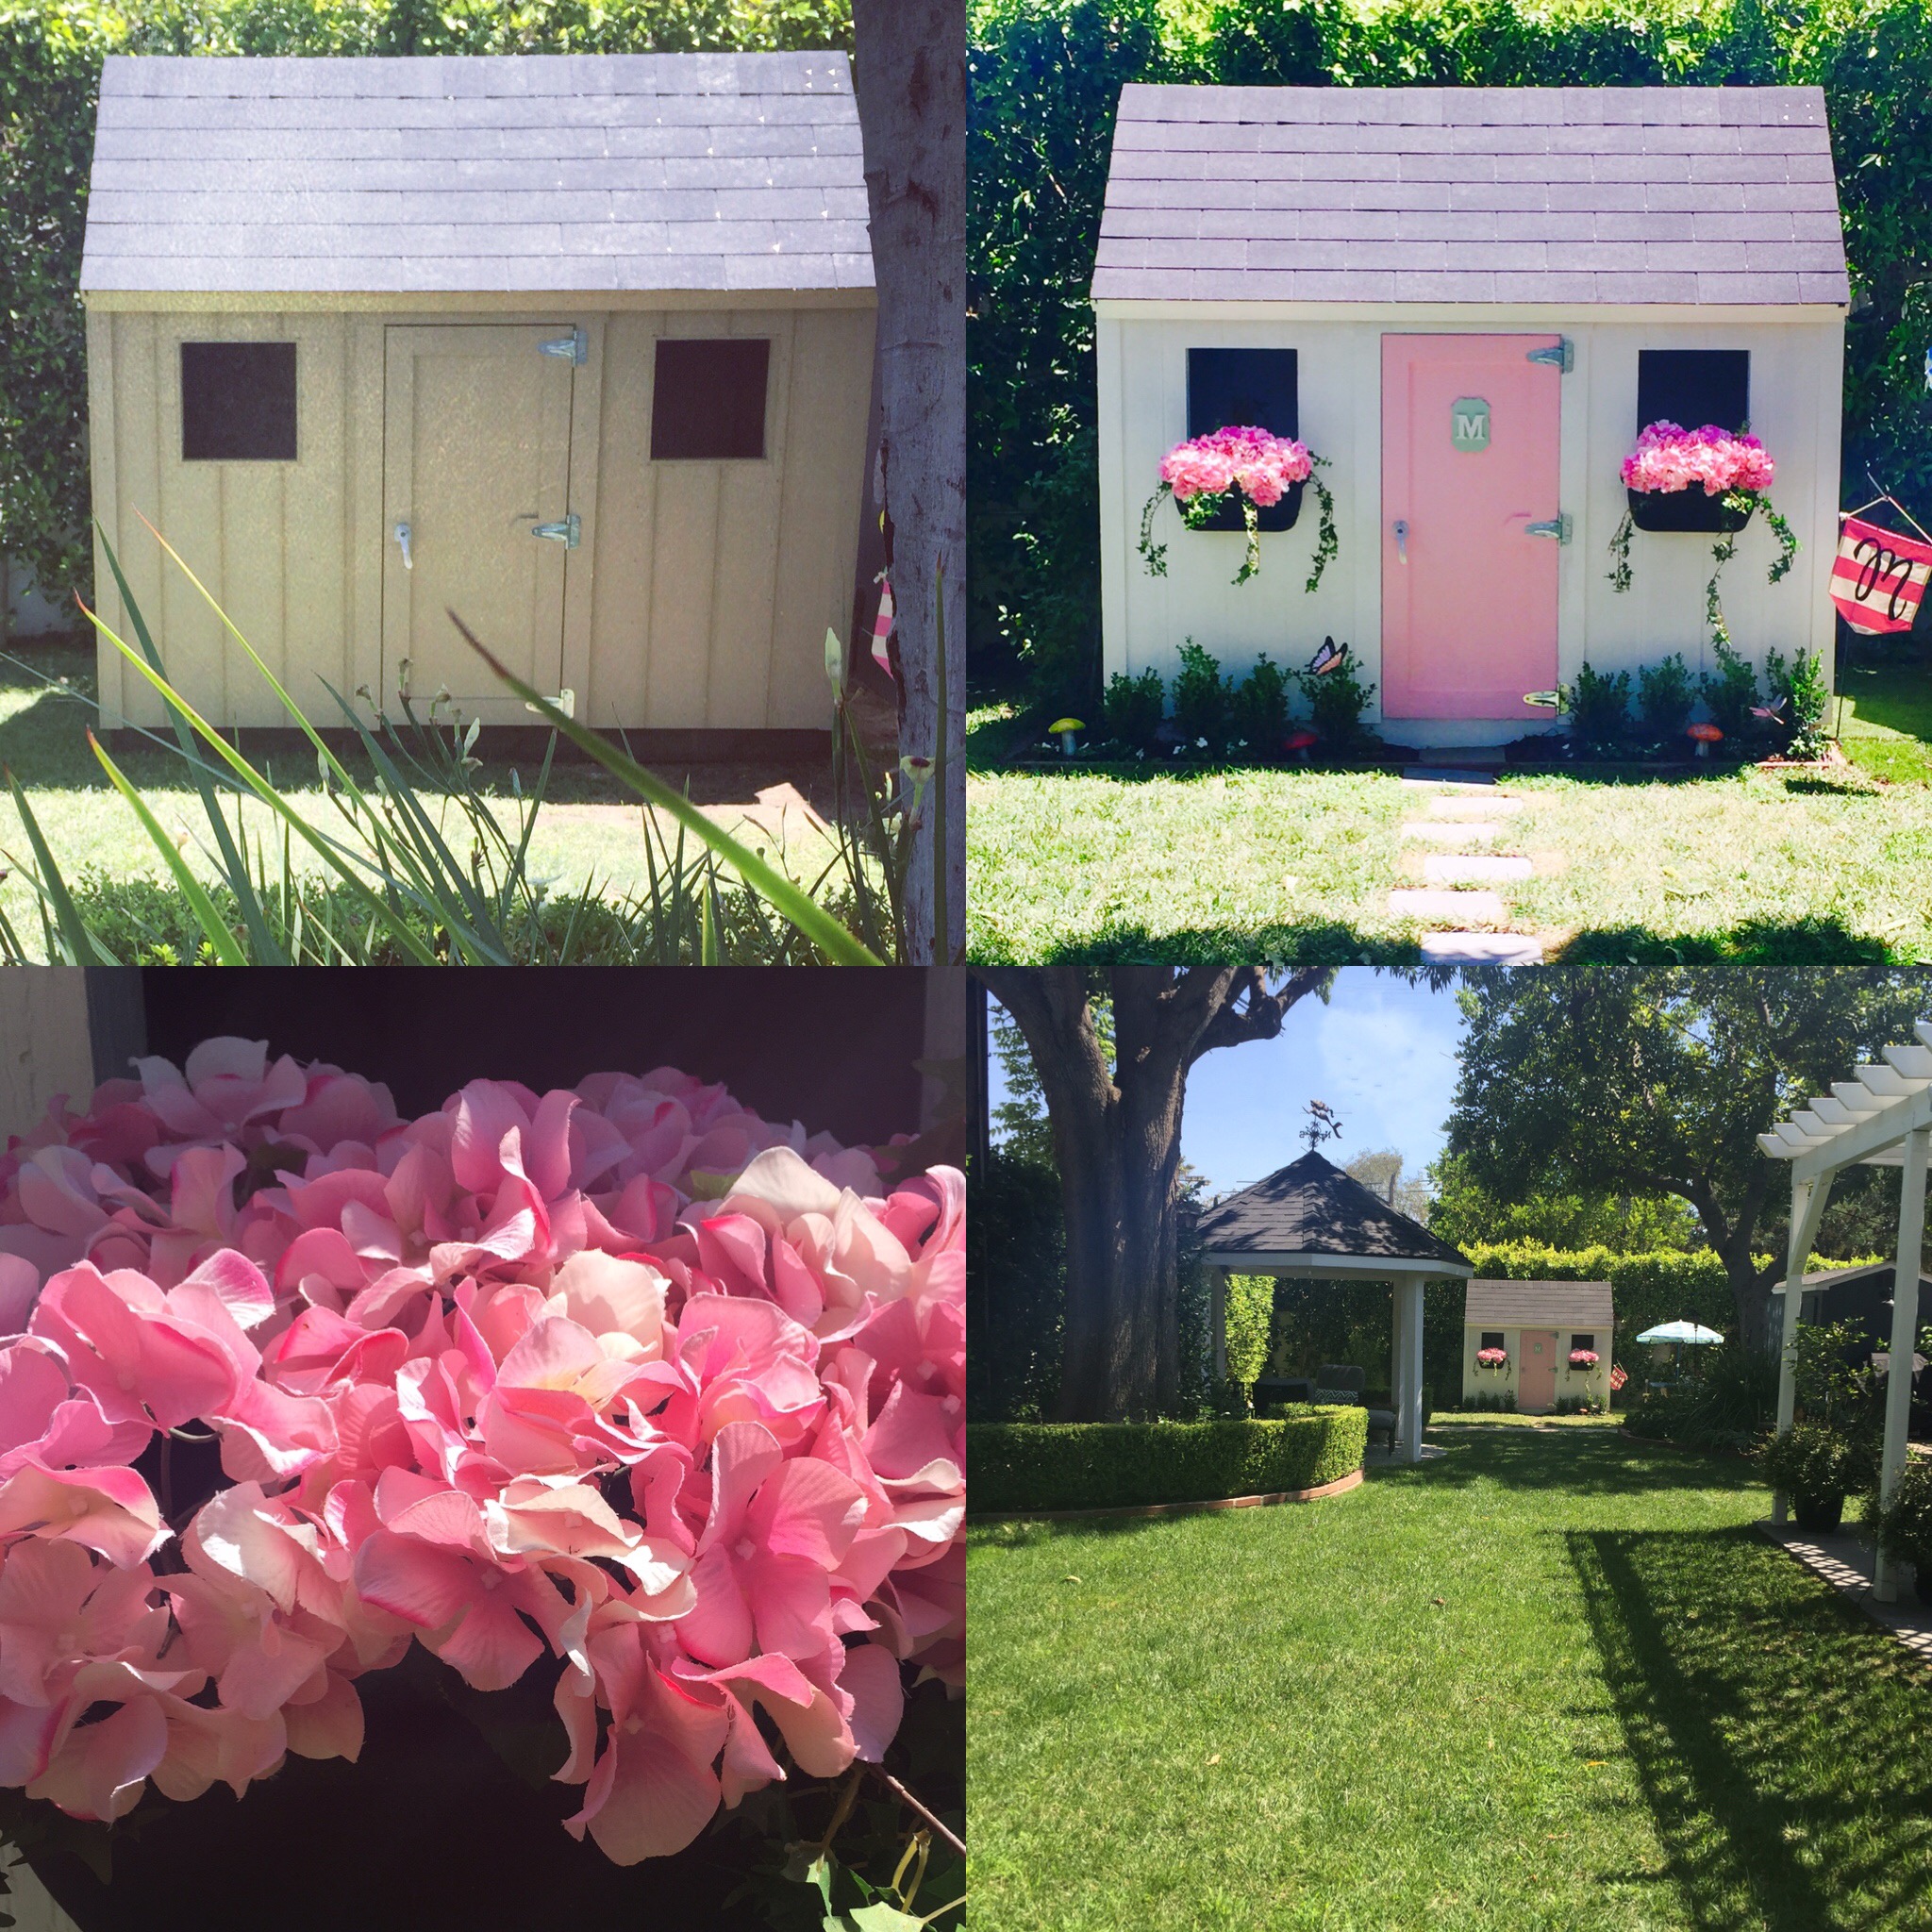
When I was a child, my Grandfather built me a playhouse (pictured). The exterior was painted a 70's lime green with a moss-covered pathway leading up to real shrubs and curtain-covered windows... and the inside... well, the inside is where my imagination took flight.

A place for countless tea parties. Pounds of plastic pork chops. A tiny white wooden stove, with cranky black knobs and painted "hot" burners. A place for piles of dishes that needed to be rinsed. Then dried. Then put away, only to reemerge moments later to play all over again. A place for sleep-outs. A place for blanket-covered-flashlight-face ghost stories. A place for giggles. A place for tear-stained cheeks. A place for teddy bear luncheons and summertime popsicle playhouse retreats. There were lessons in laughter and silliness, lessons in bravery and friendship, all contained in a 5x8 space. A small space with big memories, to last a lifetime.
So, when my husband and I were deciding which play structure should live in the backyard (for our 2 year old daughter), naturally I wanted to rebuild a space that would hold all of HER memories. And so, the construction of one pink & white playhouse began...
1. We built (with a little help) a Semi-Pre-Fab structure: Raised foundation. Plywood walls. Composition roof. Basically a shed. Next steps...adding the charm!

Building the Frame...
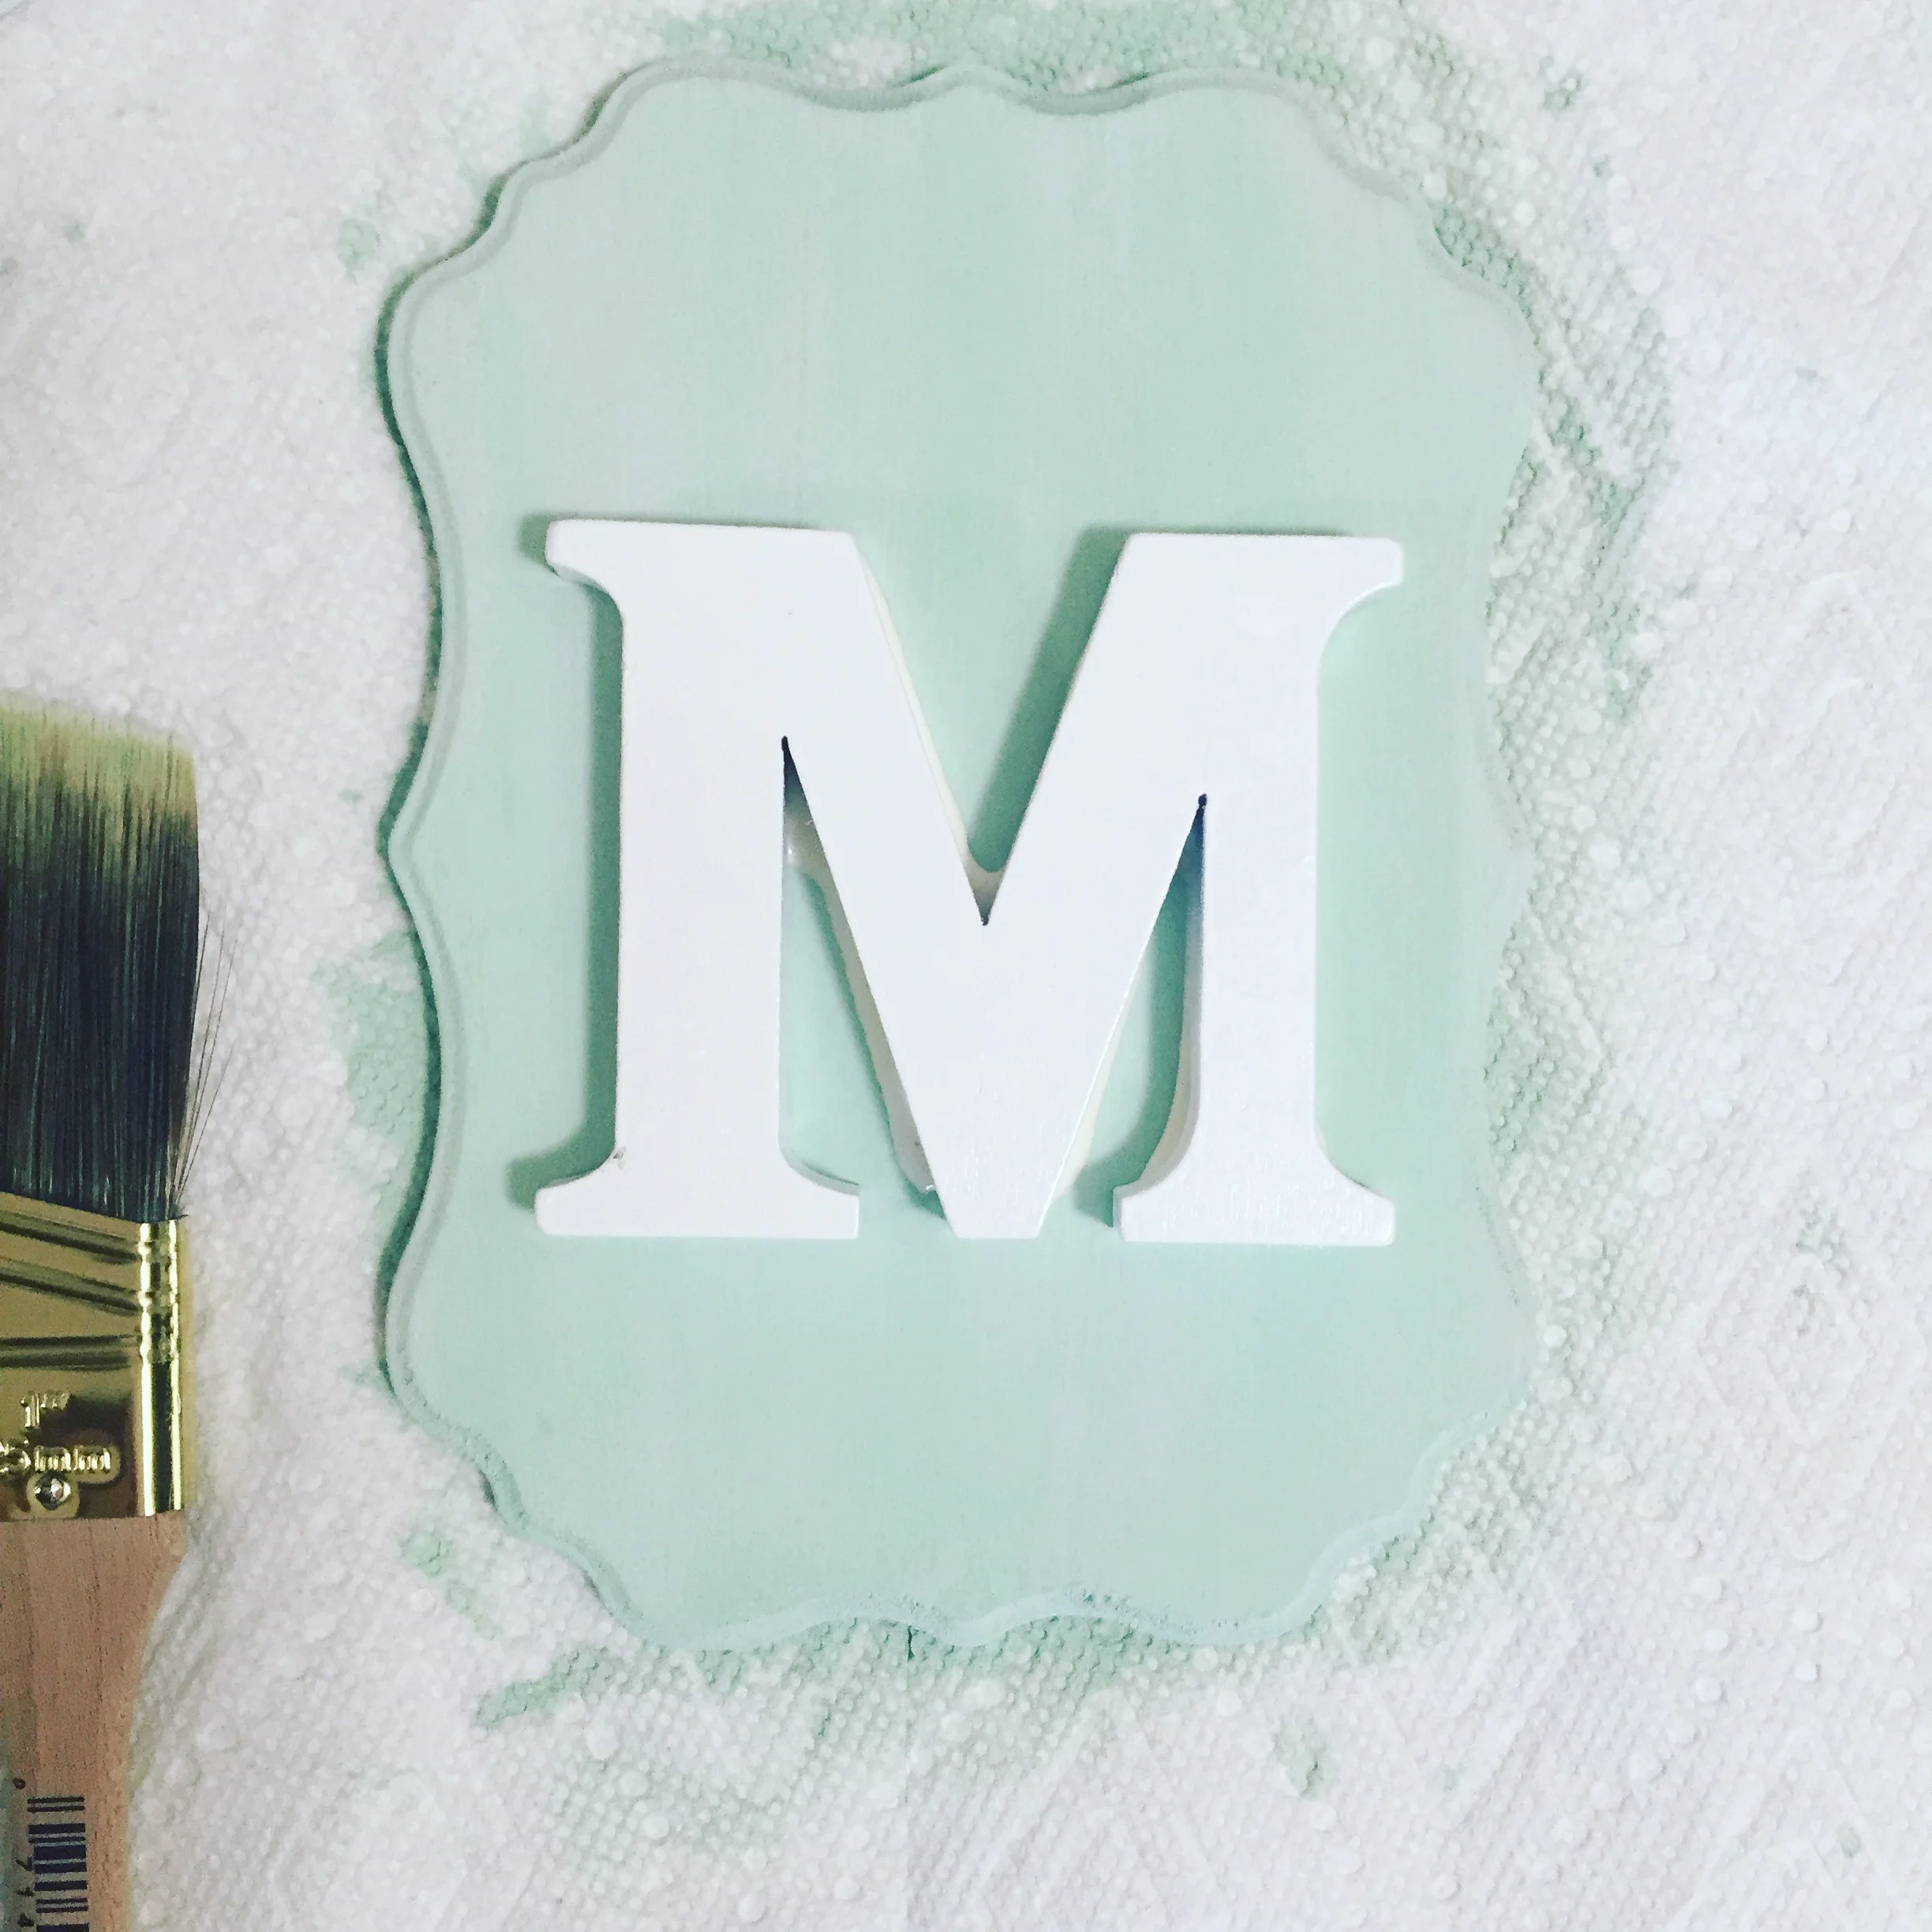
2. Personalizing the Front Door with a Monogram adds instant Charm

Painting the wood with teal milk wash, before glueing the "M"
3. Wood Glue Monogram
4. Start Painting the Structure

Paint, paint and more paint...using a paint-n-primer-in-one helped cover this porous wood.
5. Next, we added this decorative vent (on either side) to help with air flow on hot summer days, and add detail.

Vents
6. Adding real Landscaping: Flowerbed Framing, Shrubs & Whimsical Solar-Mushroom-Lights adds to the "curb appeal"

7. Planting the boxwood hedge & laying the stone path. Oh, and the door is now PINK!

Planting the boxwood hedge and laying the stone path
8. Adding the Monogram

9. Attach & Paint Window Frames

With the final addition of overflowing Flower Boxes we went from Shed to... CHIC!